To answer some of the frequently asked questions about the fall training, I figured I'd…

How to connect MailChimp to your WordPress Site to collect email addresses
Hello Everyone!
Last week, Carie Hess asked a very good question, and I thought that the answer might be helpful to many of you. Carie wanted to know how to connect her MailChimp account to her website, so that she could collect email addresses from people who visited her site and keep them informed on Petroleum CD’s activities through her newsletter.
There are A LOT of good ways to do that. Today I’m going to show you one that has already been set up on the MACD network of sites. For those of you who have WordPress websites that are not on the MACD network but would like to use this solution, please send me an email (kate@macdnet.org) and I can get you set up with the plugin that we’ll be using.
Hustle Pro
This solution uses the Hustle Pro plugin from WPMU Dev. It’s a Pro plugin, so it’s not available for free. However, there are many free plugins that perform similar functions (namely, connecting with MailChimp and setting up a basic email collection form). Hustle Pro is available to MACD members through our WPMU Dev subscription.
So without further ado, and assuming you’re on the MACD network of sites or have installed Hustle Pro.
To get started, you first want to activate Hustle Pro for your site. To do that, head to Plugins from the dashboard menu. Find Hustle Pro and click “Activate”. Simple as that.
Once the plugin is activated, head to Hustle Pro in the left hand column from your dashboard.
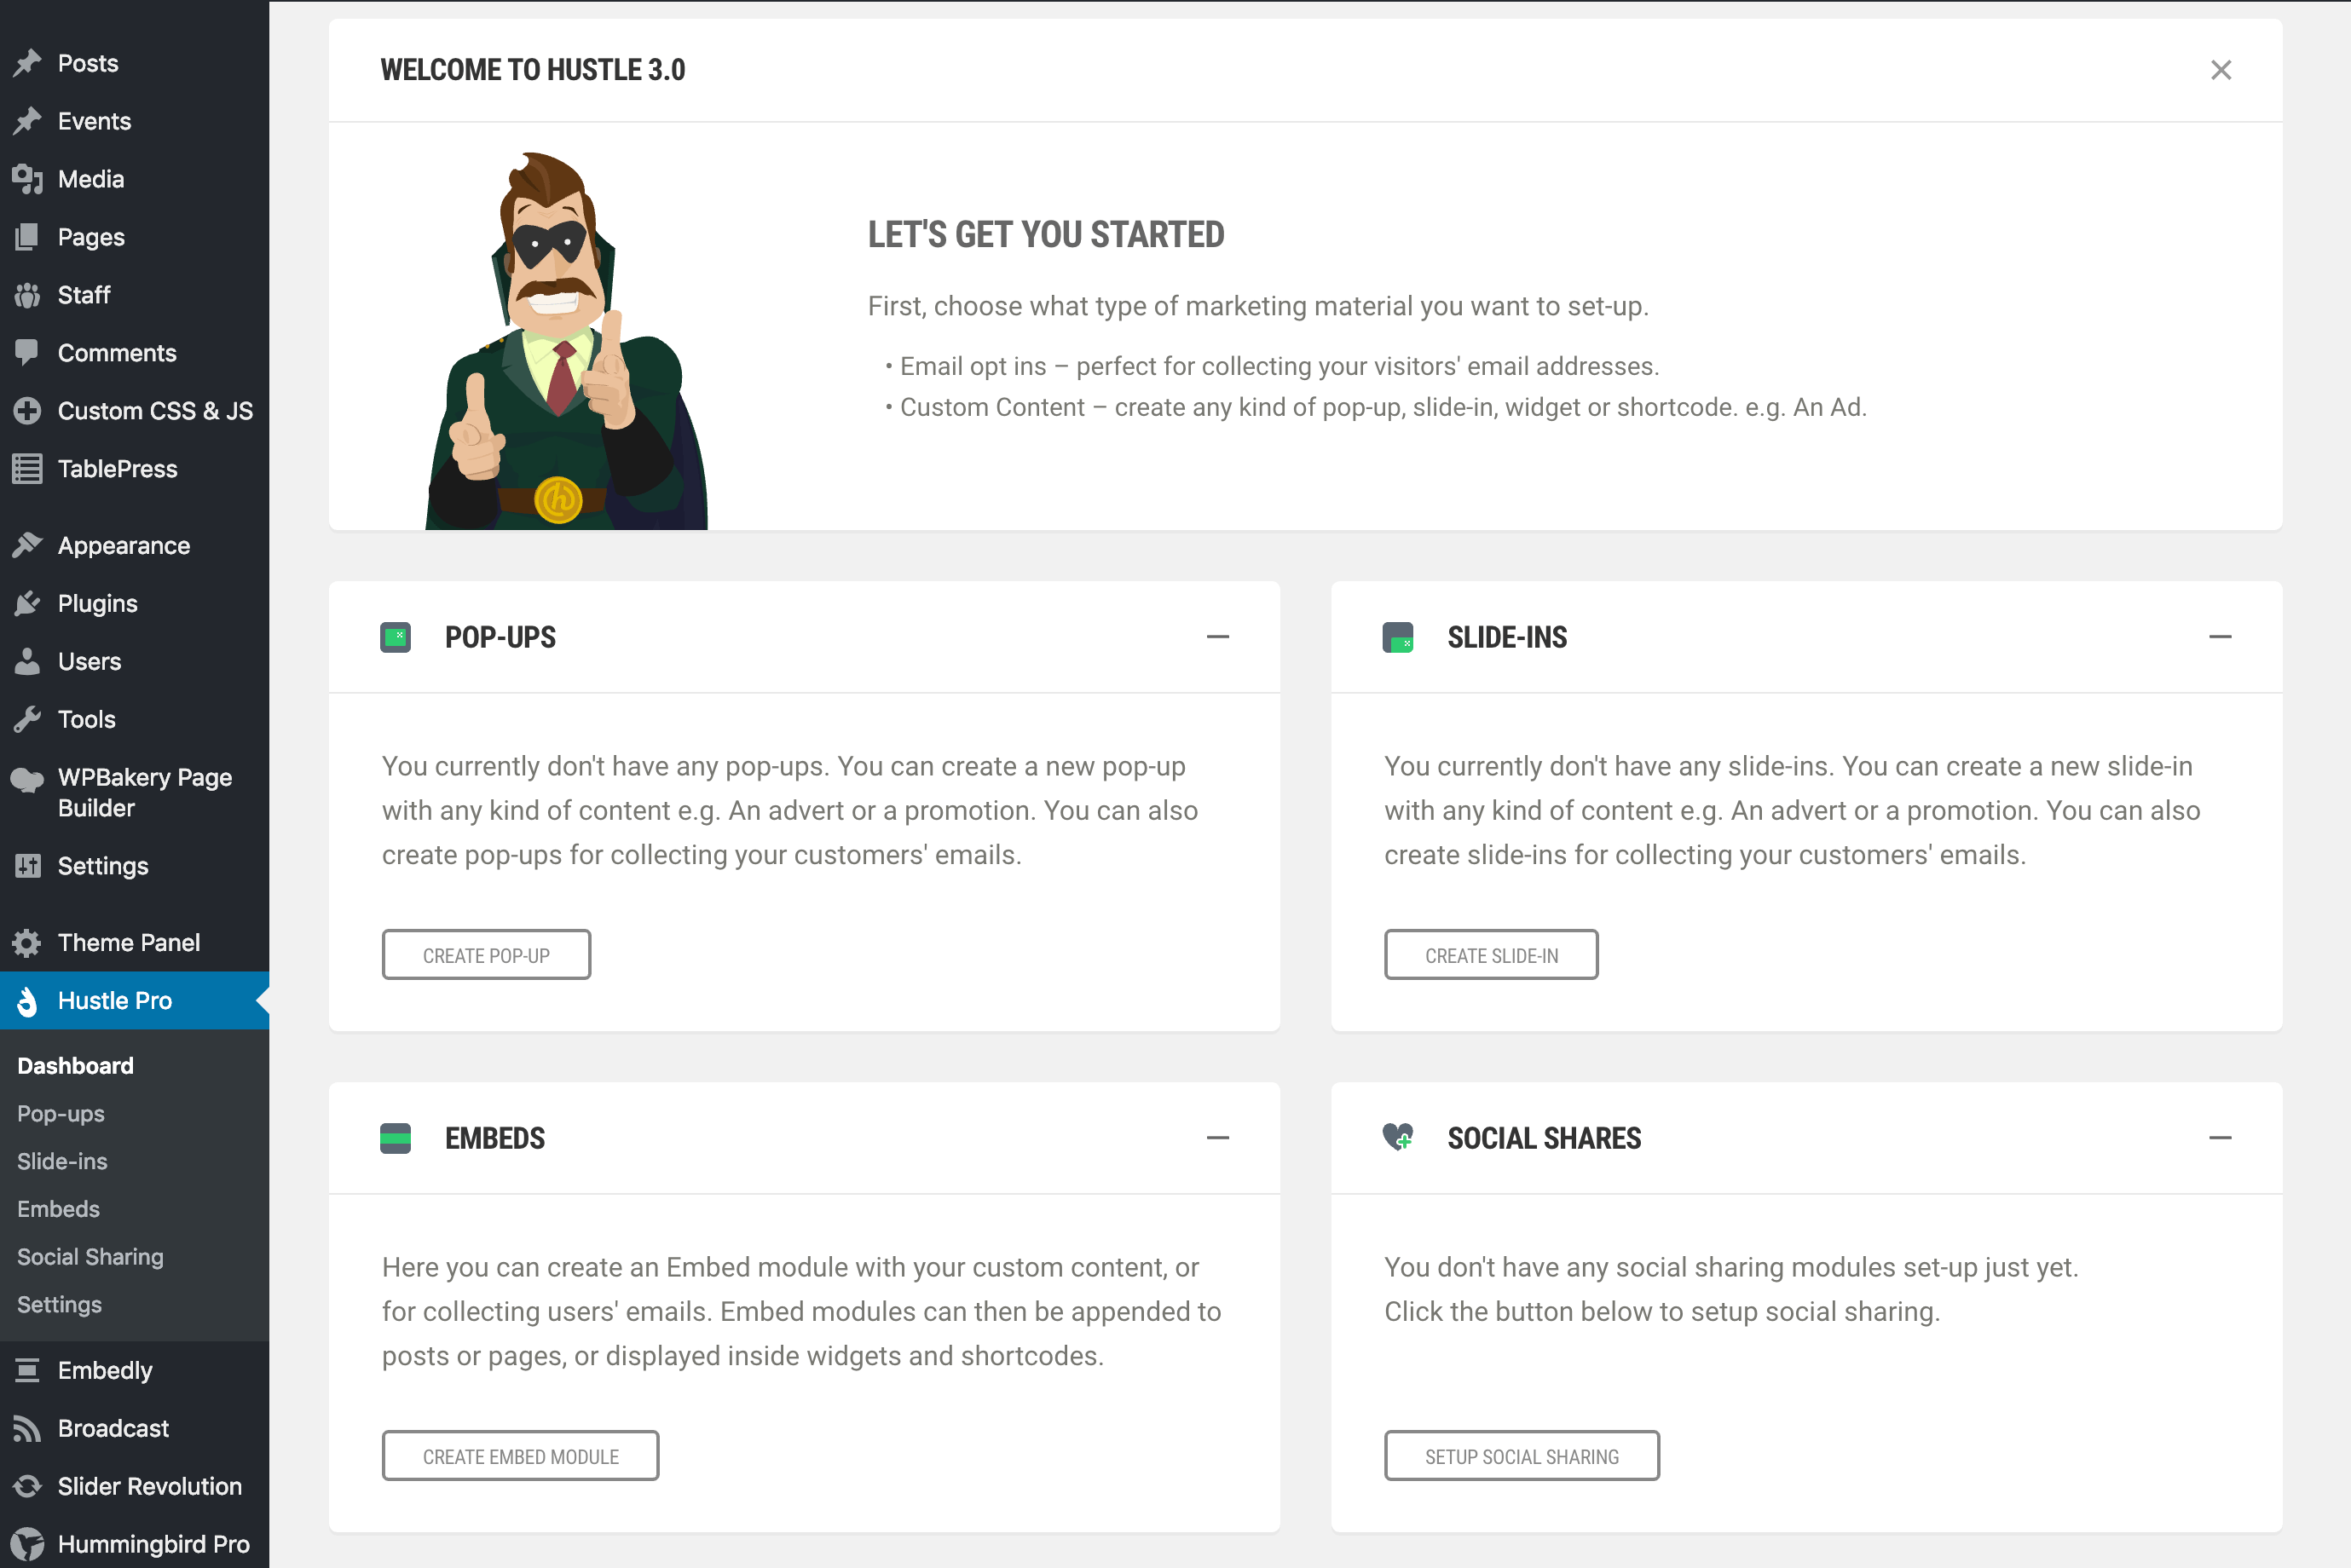
Options!
Your next step is to choose whether you want to create a Pop-Up, an Embed, or a Slide-In. They all act pretty much how they sound. The Embed option creates a shortcode that you can place on a page or post, Pop-Up creates a pop-up window over your site, and Slide-In creates a little form that slides in over your site from the edge.
I’ll go through a Pop-Up to demonstrate how to connect your MailChimp account.
Create a Pop-Up
After clicking Create Pop-Up, go through the fields it provides and create a name for your pop-up (this is just for you to tell multiple pop-ups apart). Then add some content. If you want, you could even select a featured image that might entice people.

Connect MailChimp
Next, in the Email Collection Module section, select “Add Email Collection to this Pop-Up”, and then select MailChimp from the provider list.
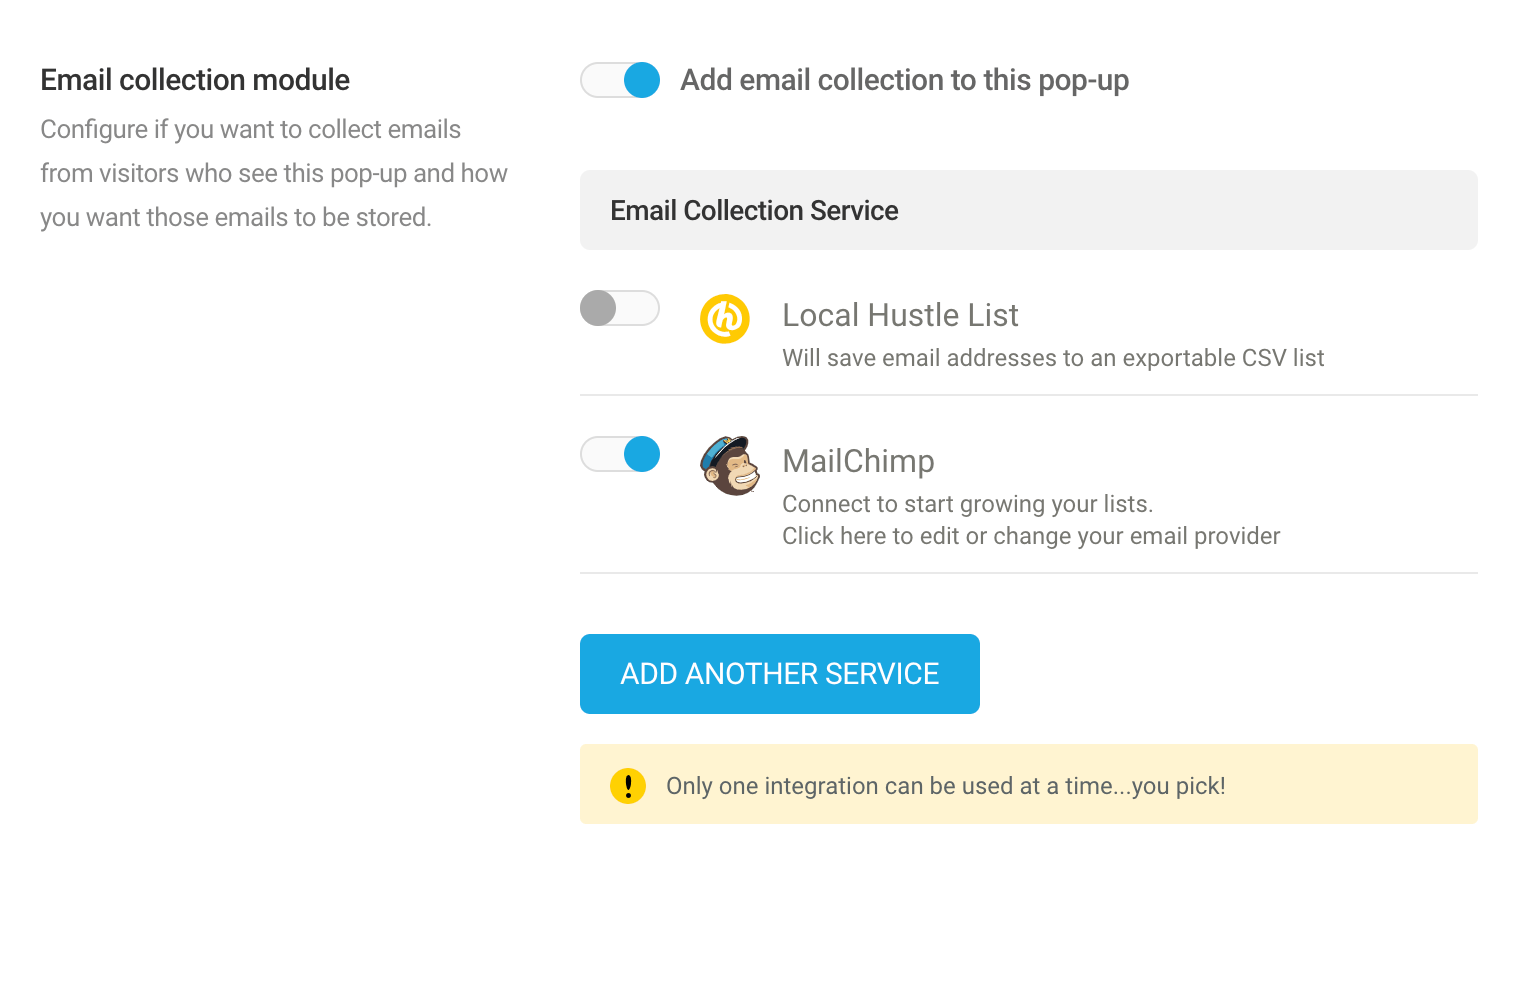
The next thing that you need to do is click on the MailChimp area. That will open up a window where you can enter the details of your MailChimp account. NOTE: This is not intuitive initially. I would expect the window to open up the moment I select the MailChimp service, but NOPE you have to select it AND click on it.

You’ll want to log in to your MailChimp account in another Tab, then navigate to Account – Extras – API Keys. Then you’ll need to click Create an API key. Once that key has been generated, copy it, then navigate back to the other tab and paste it in the Update Email Service window. What the API key does is it is a secret code that the website and MailChimp use to communicate with each other. I like to think of them like a secret door knock that lets the other know “hey, it’s me, let me in”.

Once you’ve done that, you can click “Update Service” and you’ll be taken back to the Pop-Up editor. You can edit the questions that the Pop-UP asks users, the success message, and what happens after a user has submitted their email. I like to change the final setting so that it no longer shows the pop-up after someone has put their email in. That helps keep it from being annoying.
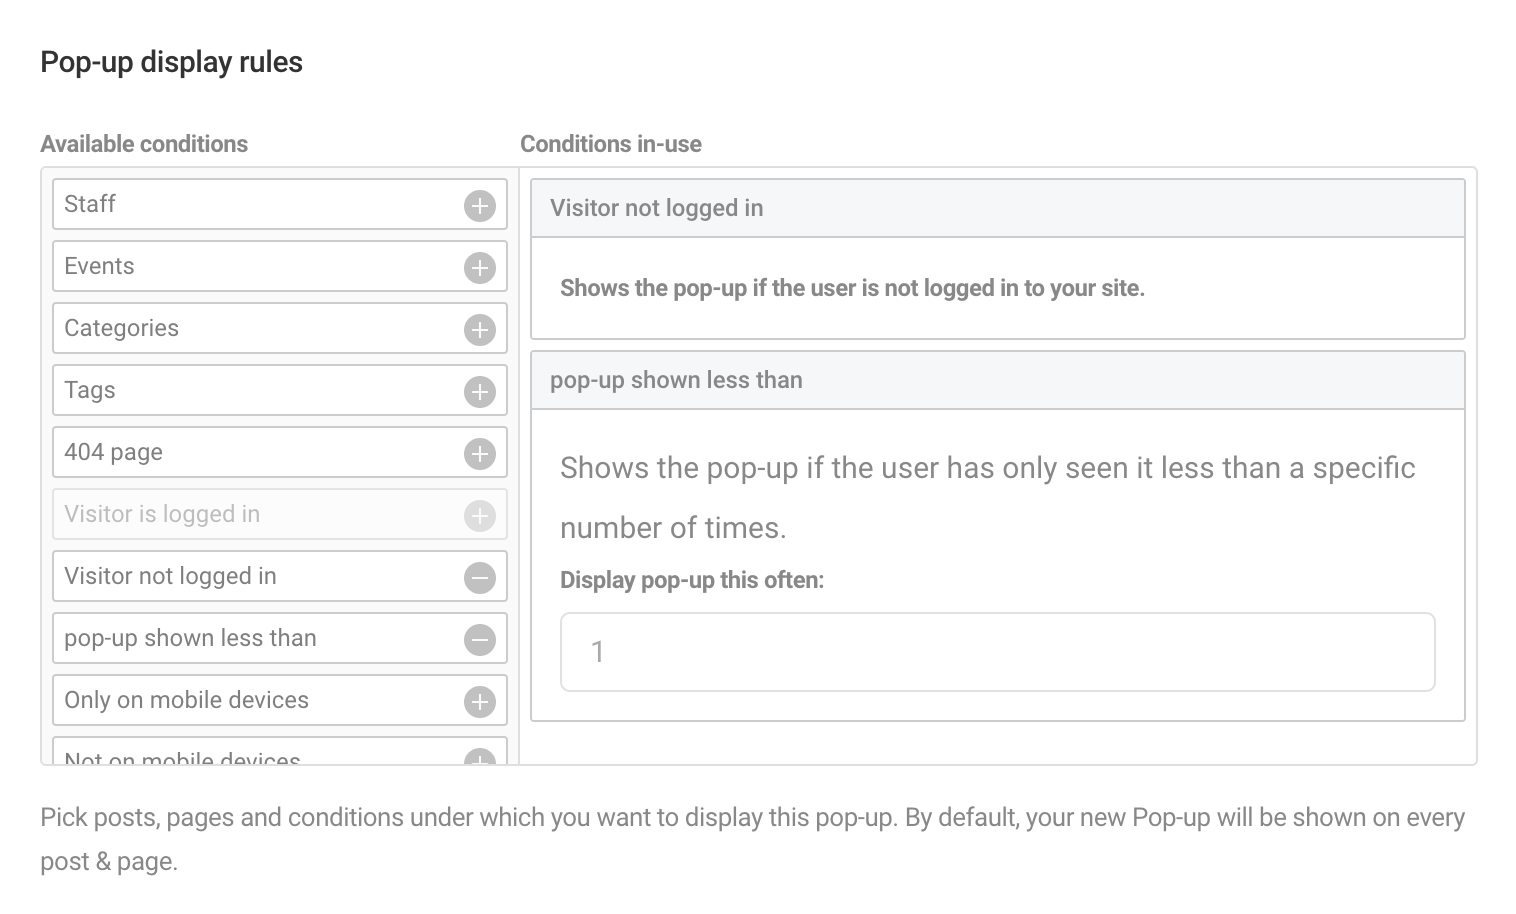
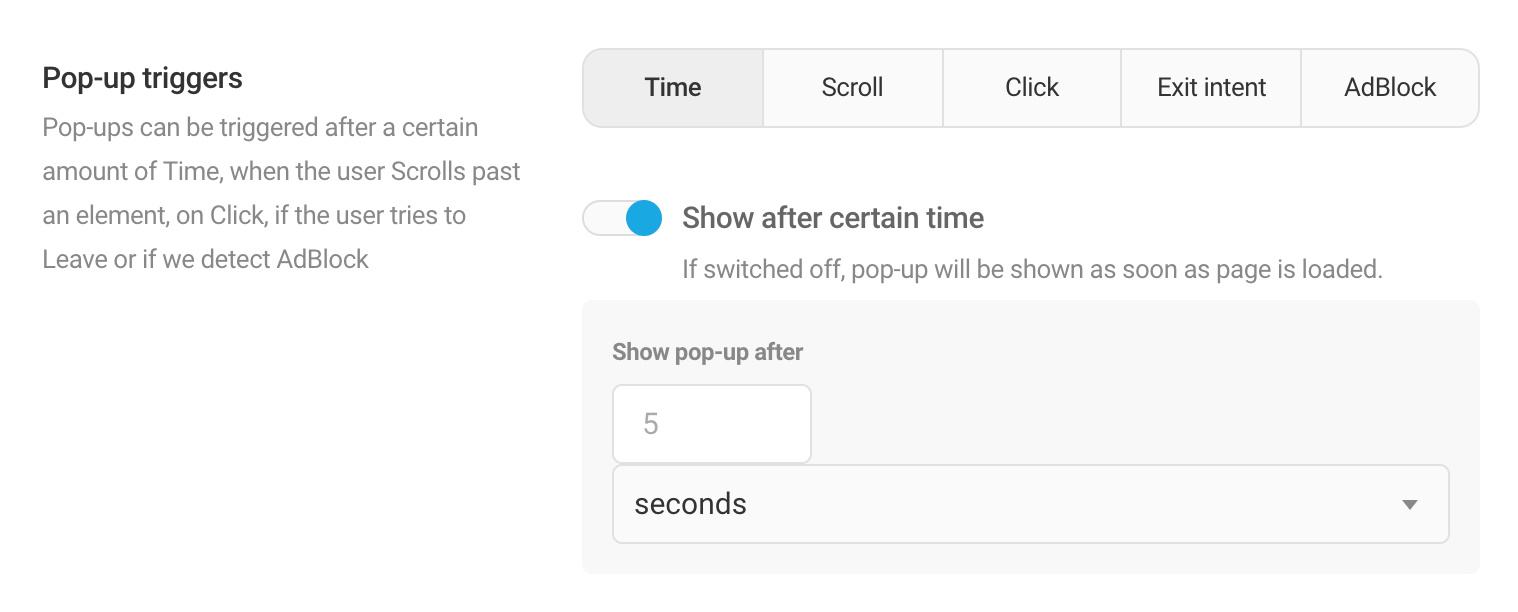
Click Continue to go to the Design section of the Pop-Up editor. Here, you have a lot of options to choose how the pop-up looks. Feel free to play with it! Once you have it how you like it, click Continue again to go to the Display Settings section. Here is where you can choose when the pop-up will be displayed to users. I like to set it so that it only shows up to people who aren’t logged in (that way it’s not getting in your way), and I don’t want to annoy people with it, so I generally set it to only show once per user. Finally, I like to set it to show up after a little time has gone by with the user on the site.
Once all of that is done, you can click Publish and your pop-up will be active! Since it’s set to not show up for logged in users, you can either log out to test it, or visit your site from a different browser.
Please call if you have any questions or run into any hangups! I’m happy to help you put it together!